")
One of the important points after purchasing QNAP NAS TS-453A is its launch. Since the device has its own shell on the Linux kernel, you need to imagine your further actions.
After installing and enabling QNAP NAS TS-453A, you need to download from the download center QNAP and install Qfinder Pro on your local computer. Naturally, you need to choose the version according to your operating system.

Qfinder performs several functions: it allows you to remotely configure the NAS, also allows you to find the NAS on the network, as well as remotely monitor the status of your NAS.

After clicking the connect button or double-clicking, a browser will open in which the page of the initial storage setup wizard will be displayed. It is offered to choose which device the QNAP NAS TS-453A will use: Home use as a multimedia station or as a Business device using NAS.
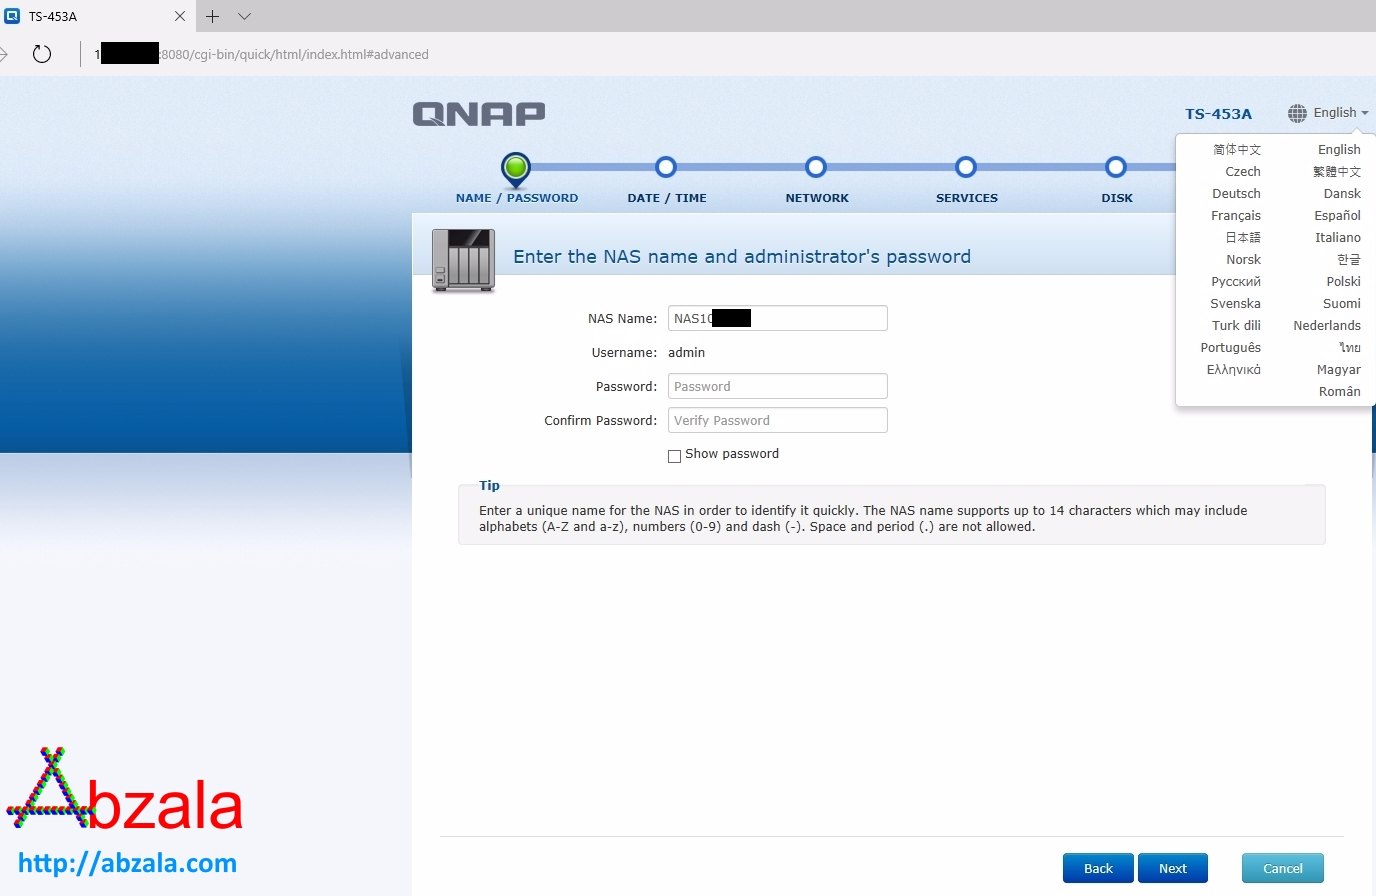
Next, the QNAP NAS TS-453A step-by-step setup page will open. At the first step, you can change the interface language and set the device administrator login and password.
The NAS name can be set as you like. The password must be set in a complex, using large and small letters, numbers and symbols, at least 14 characters.

The second step is to set the device time either manually or set up automatic synchronization with a time server.

Next, you need to configure the network interfaces. If you have a DHCP server, you most likely already have an IP, you can add it to the reservation. Since QNAP TS-453A acts as a server, it would be more correct to register the NAS IP, subnet mask, gateway and DNS server with handles.
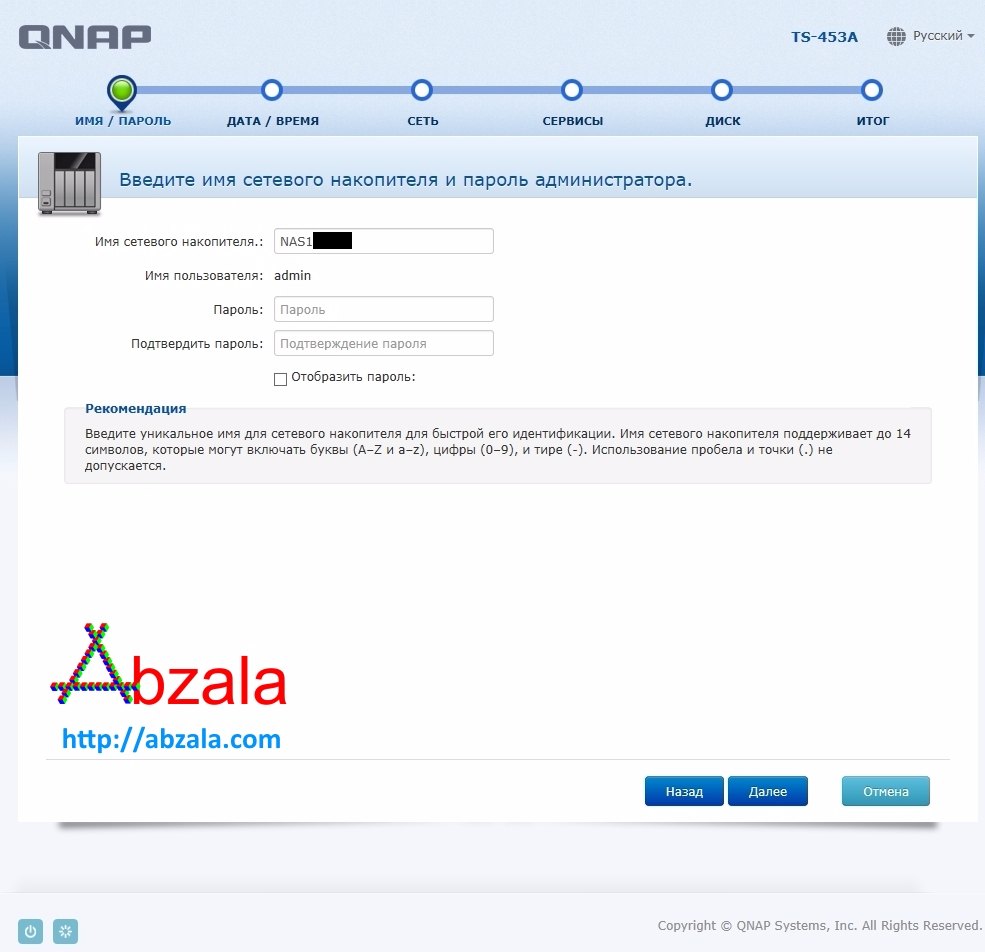
At the next step, you need to choose in which environment the file transfer will take place: in the MAC, Windows or Linux environment. If you have a mixed structure, you can set multiple checkboxes.

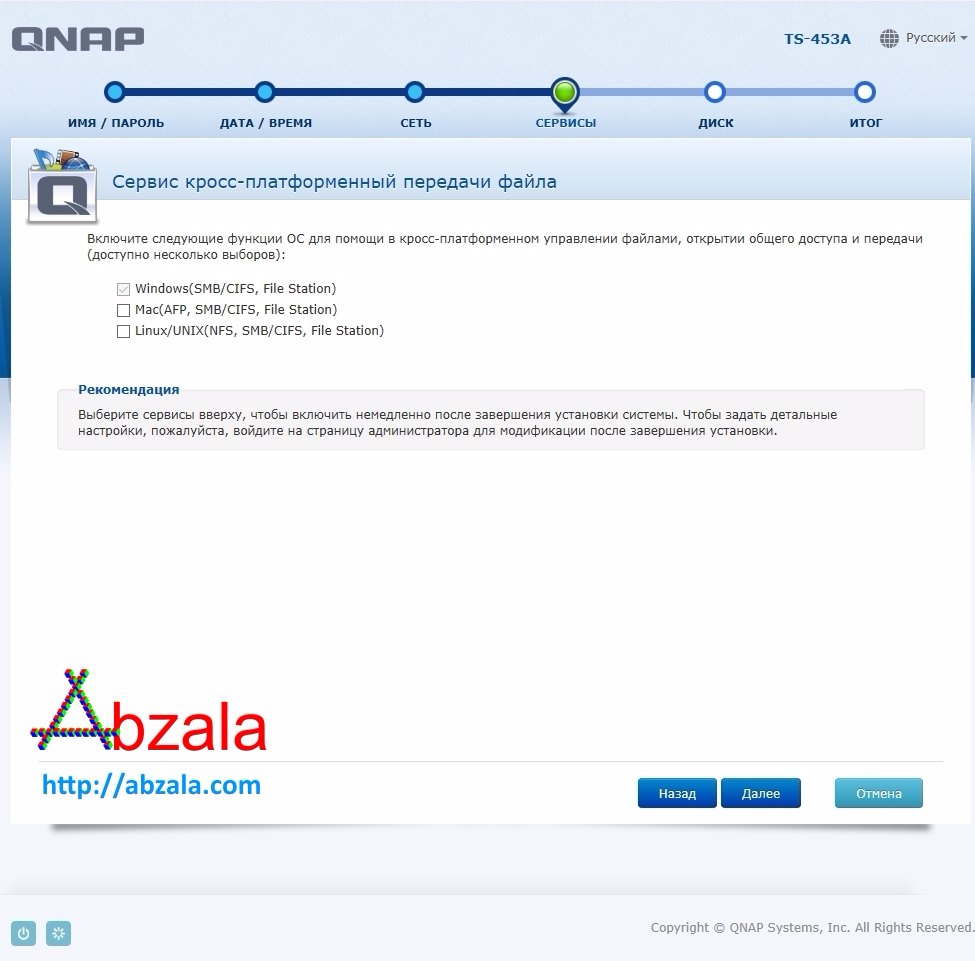
In the next step, you can configure the hard drives in the vault. You can skip this step and do it later.
Consider the configuration of your hard disk arrays in advance. It should also be borne in mind that when choosing the option to create disk snapshots, the usable volume will significantly decrease.

The next step is to check all settings and confirm the changes.
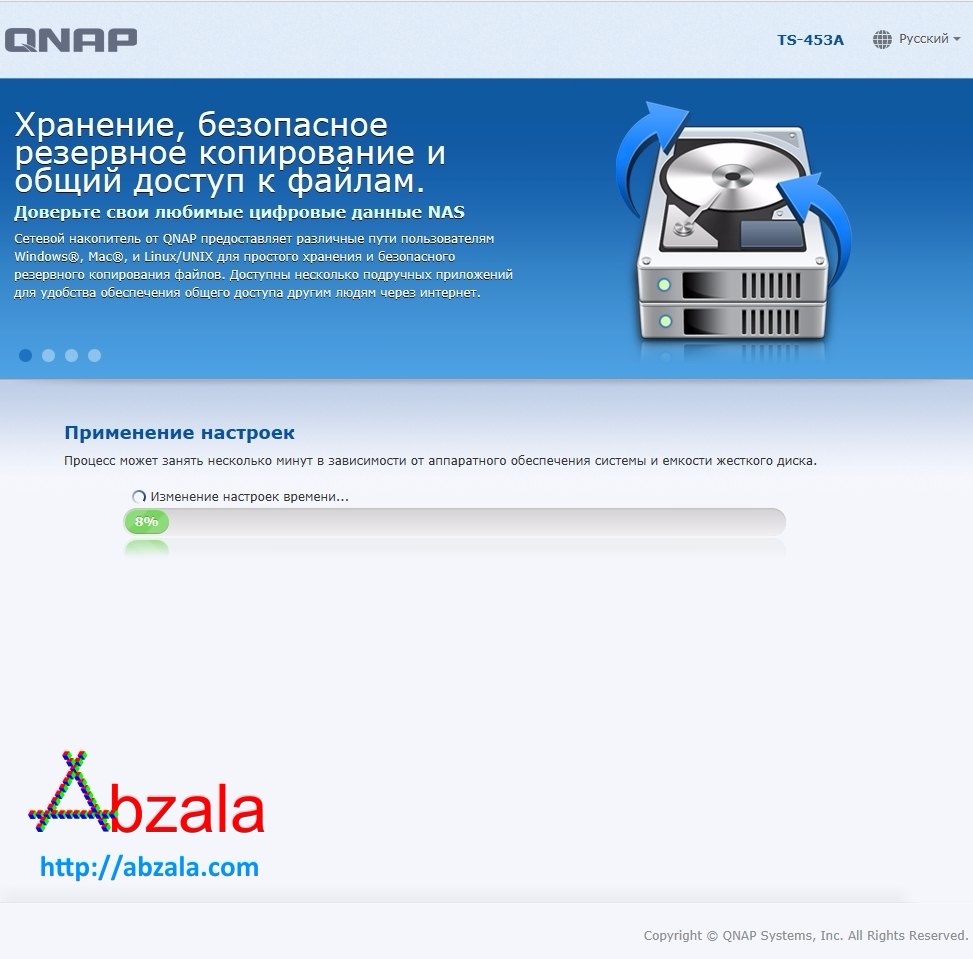
Then the selected settings will be applied.
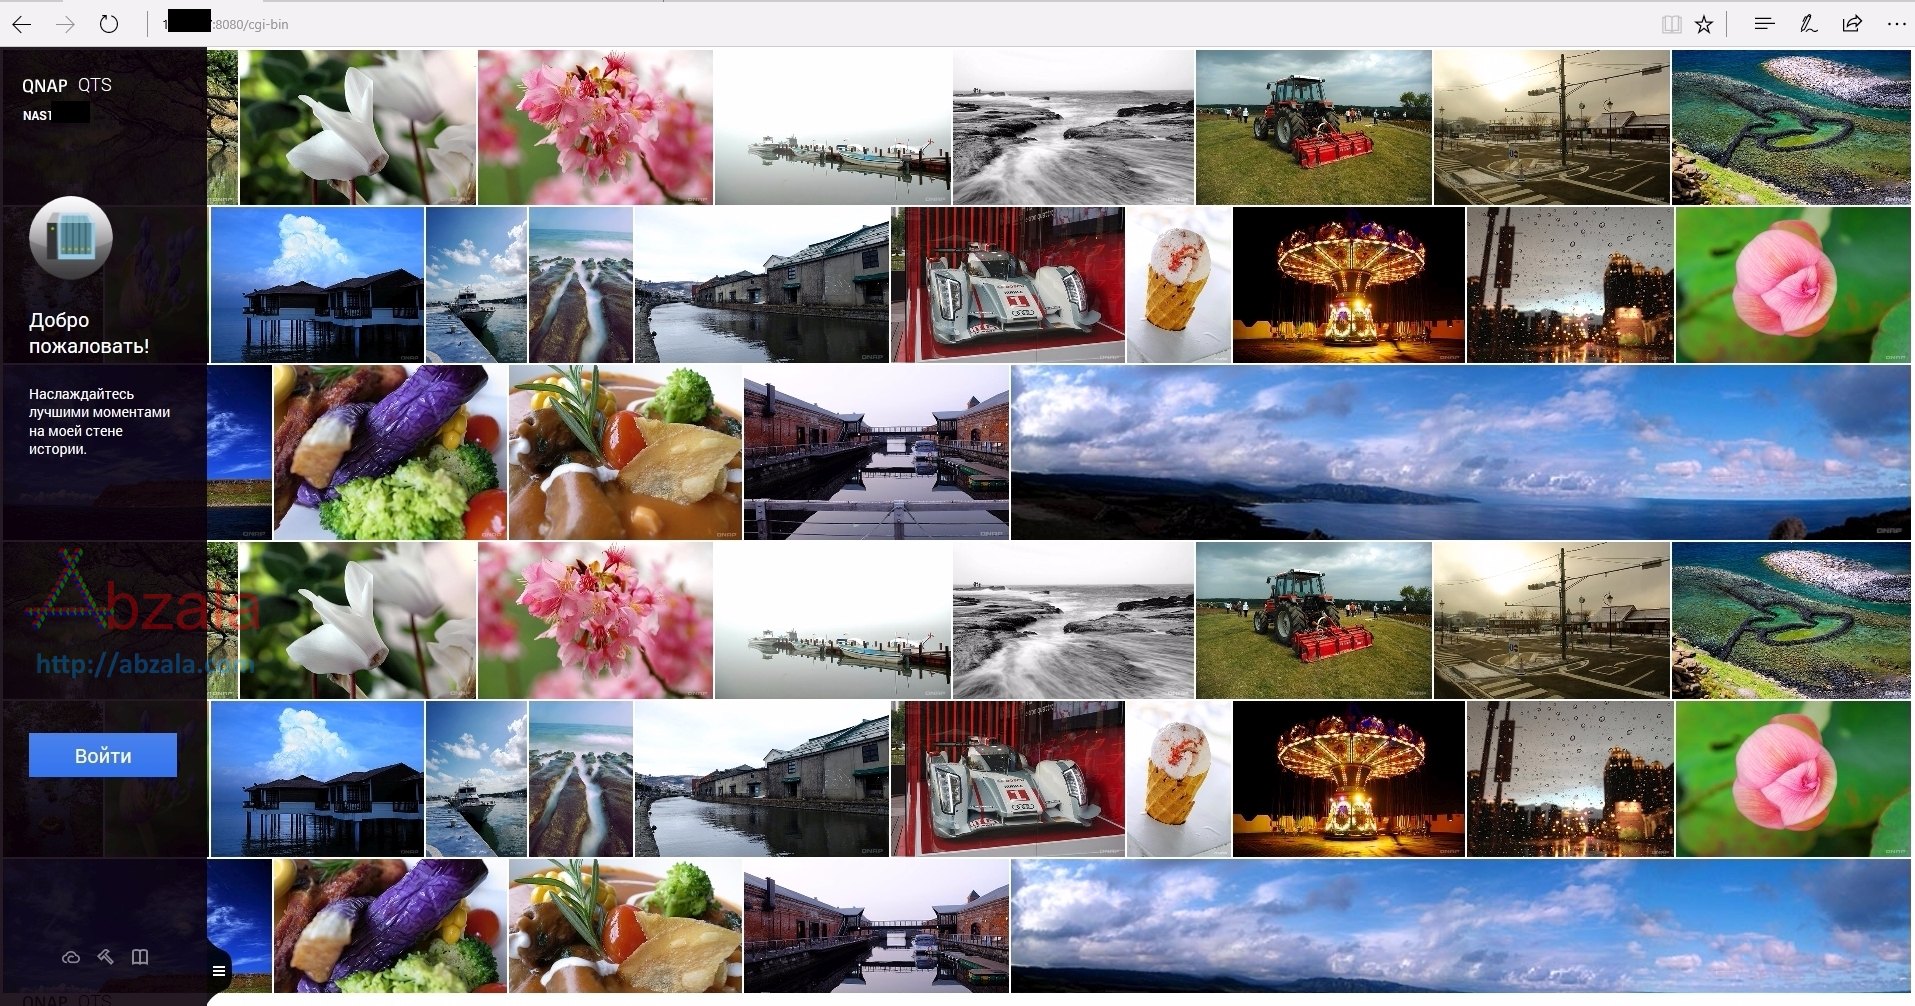
Next, a nice NAS login page will open.
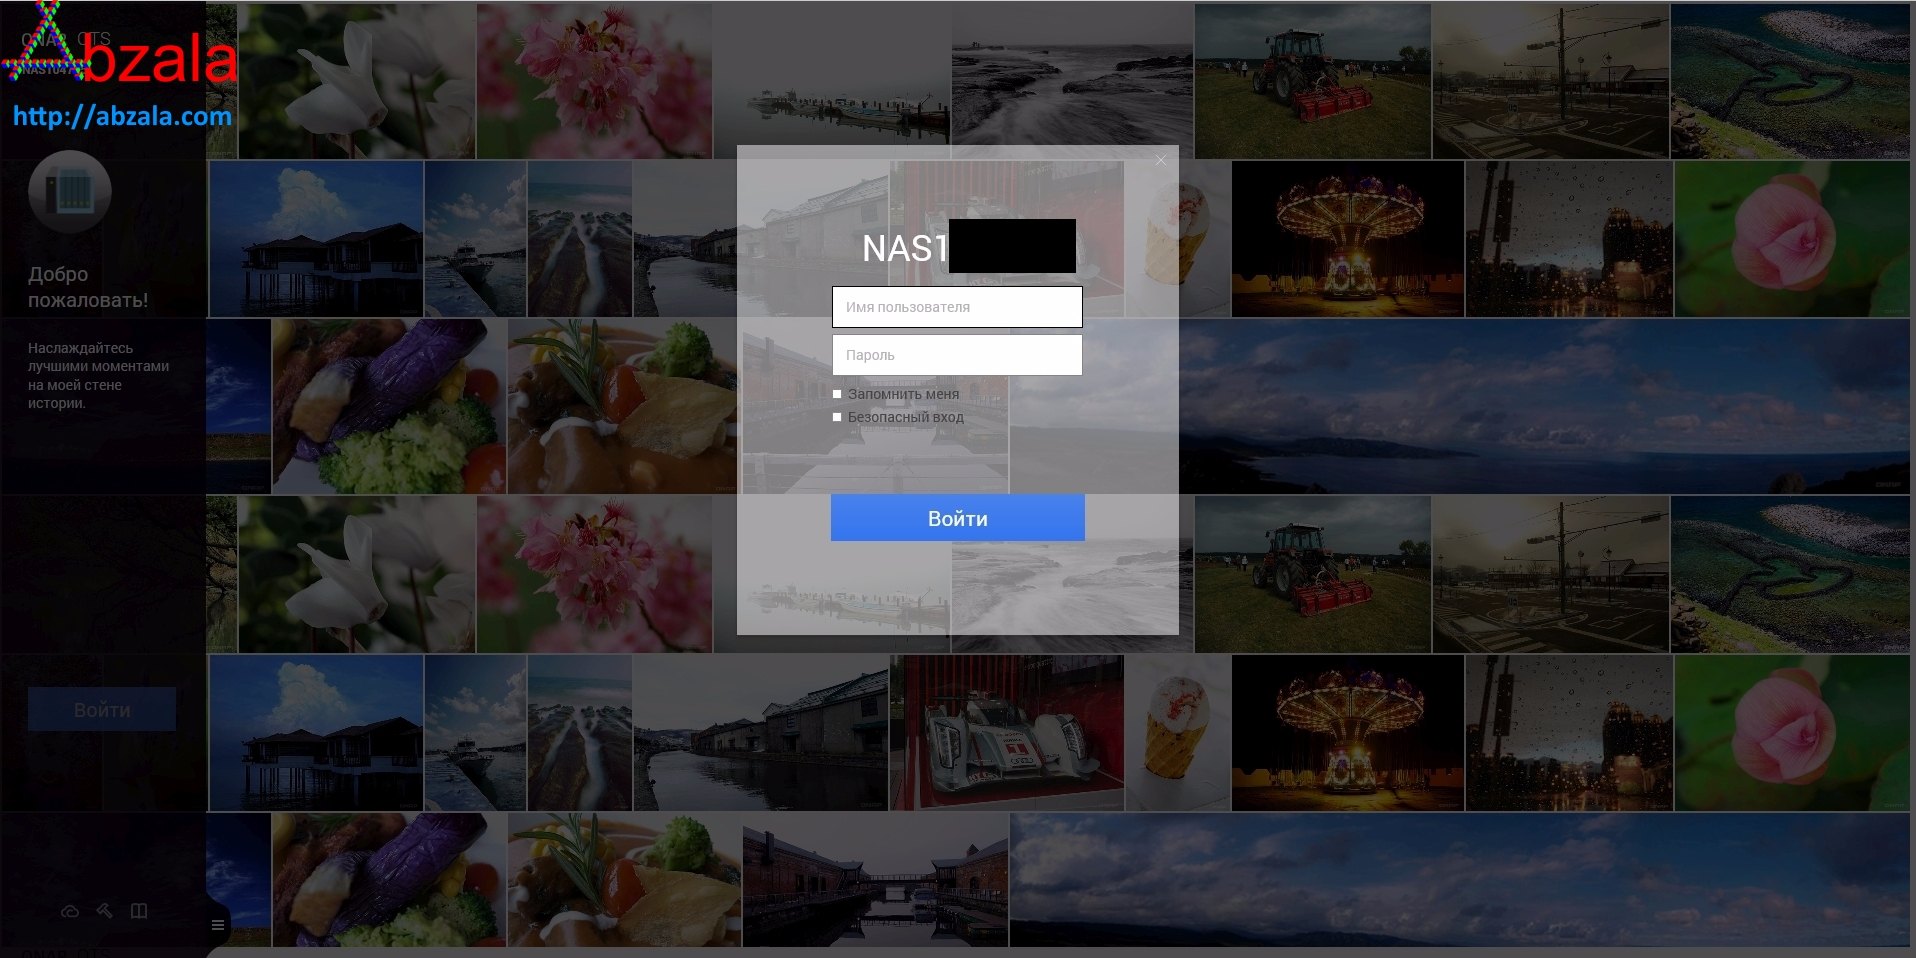
The next step is to enter your logs and administrator password. You can make a secure login.
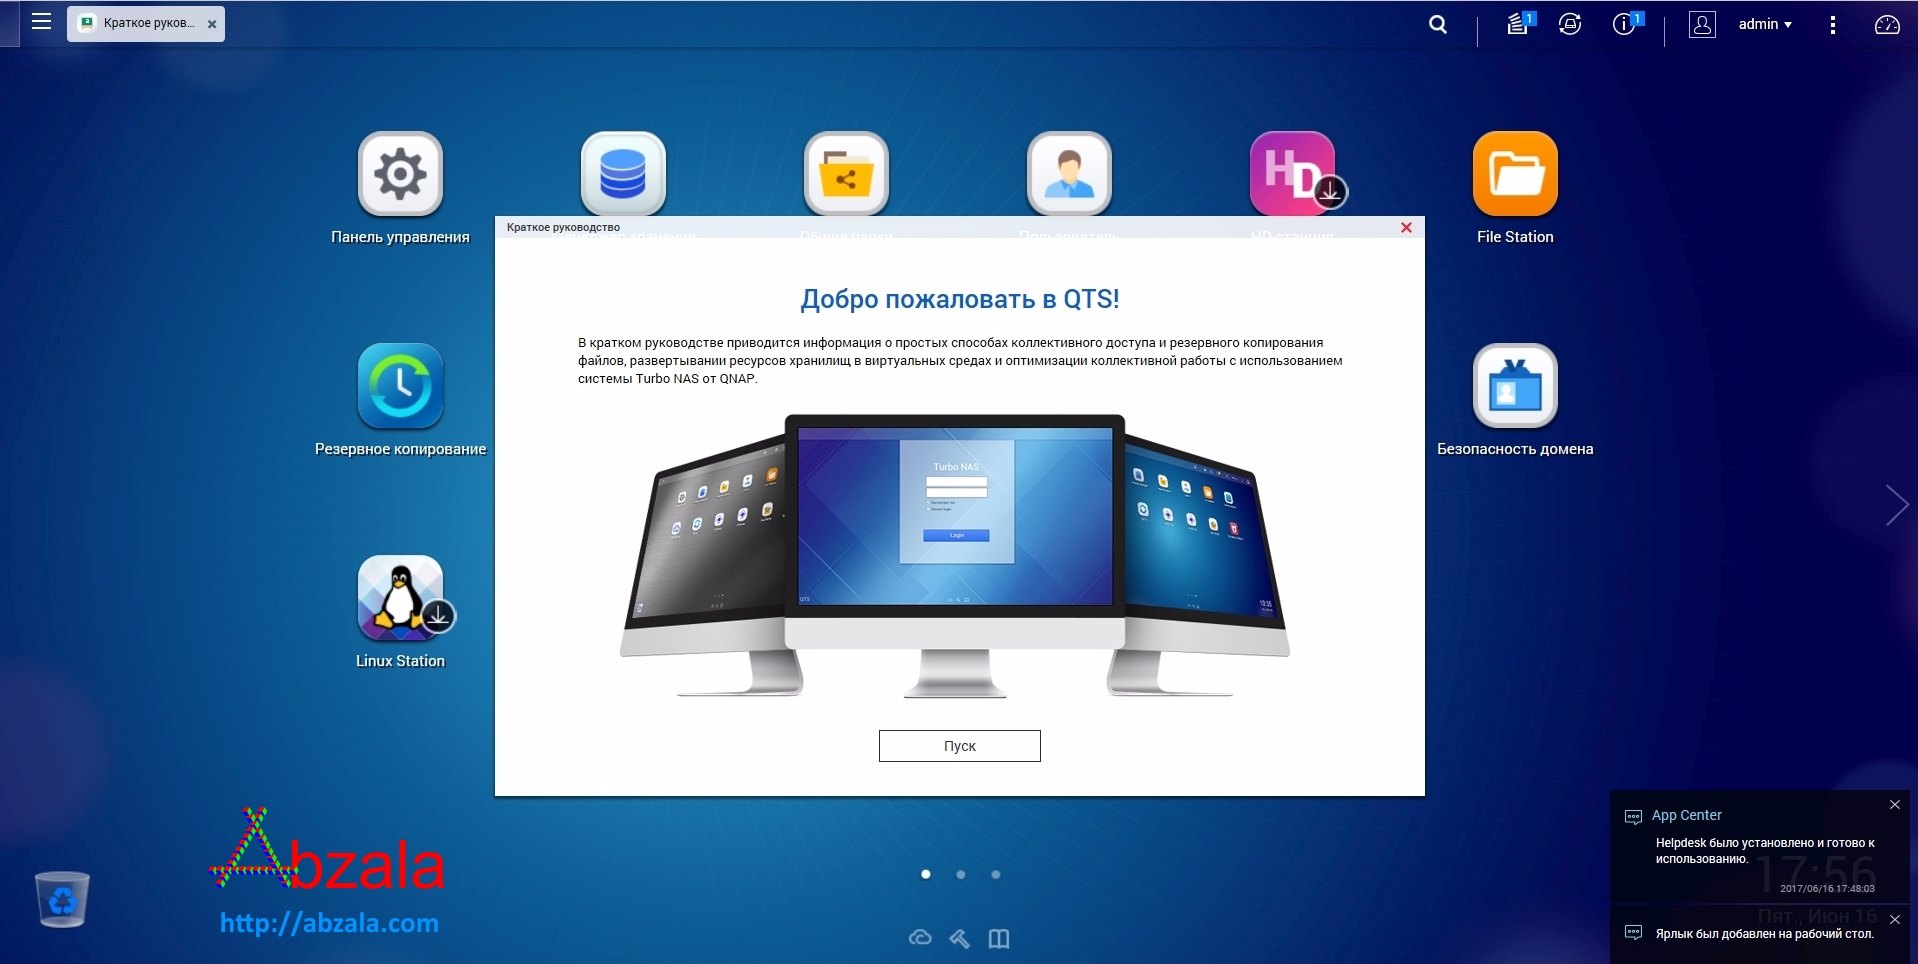
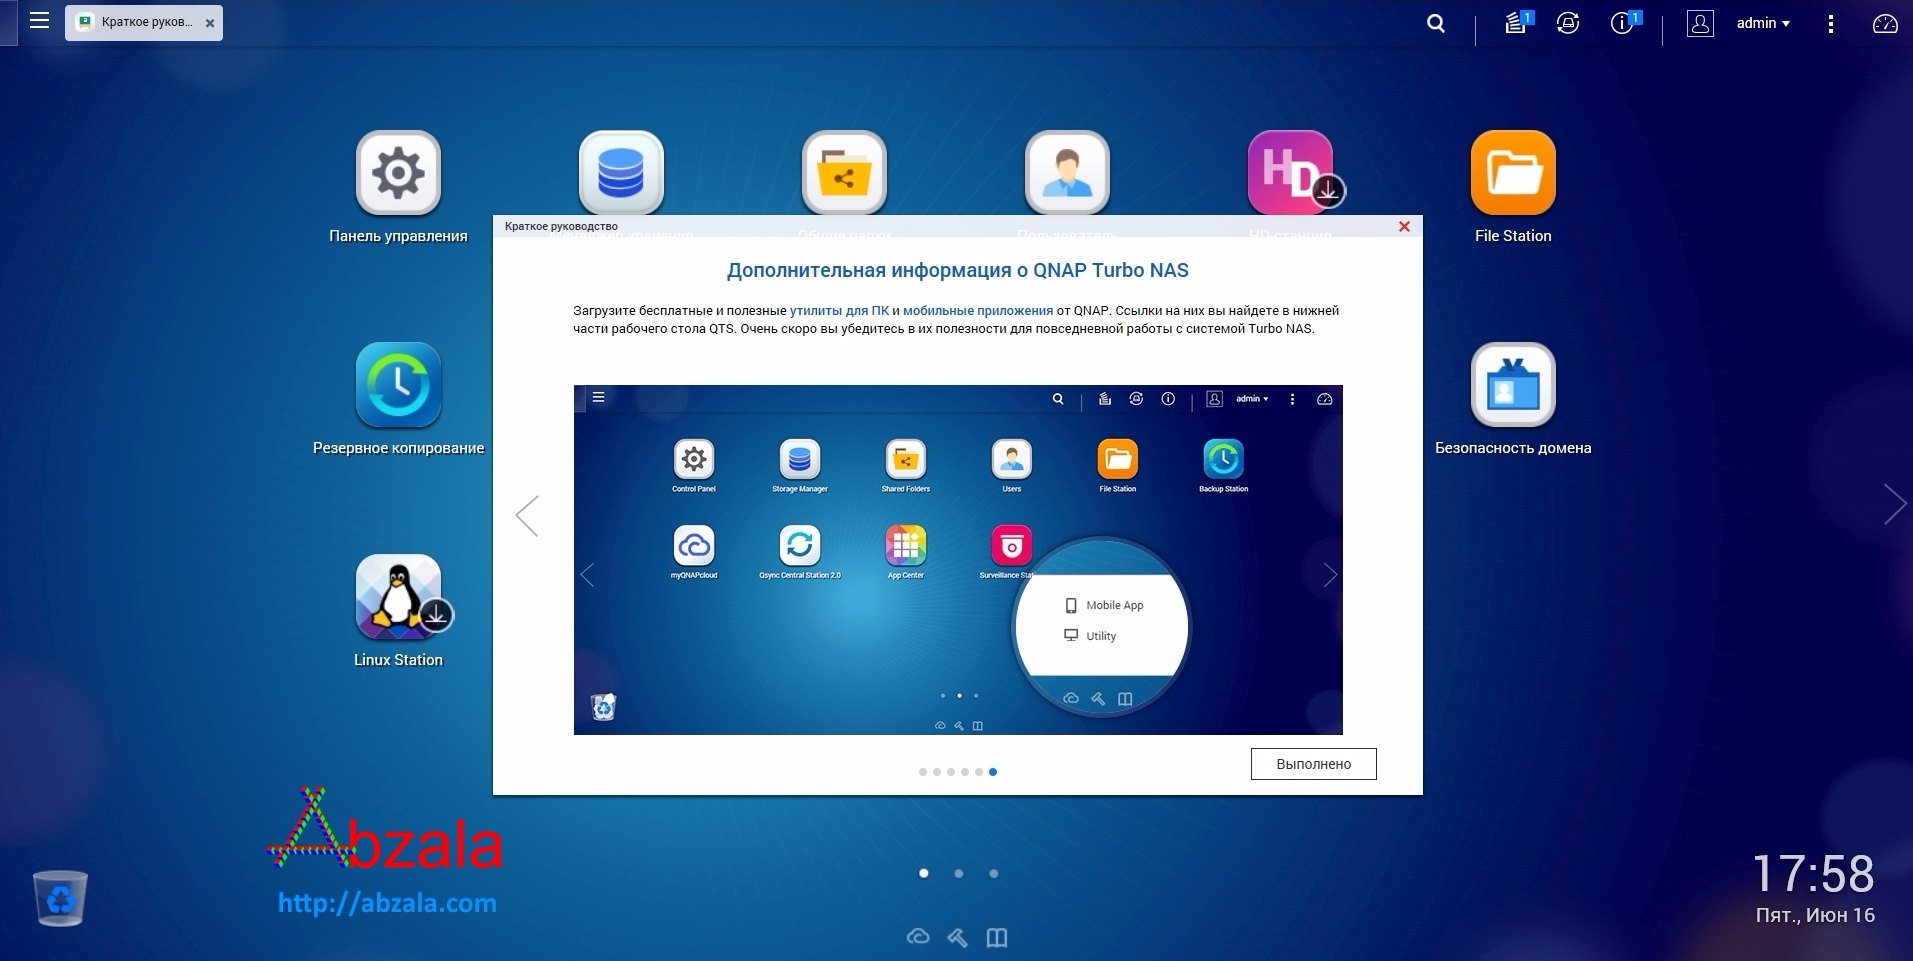
When you log in for the first time, a quick tutorial on NAS features will open.
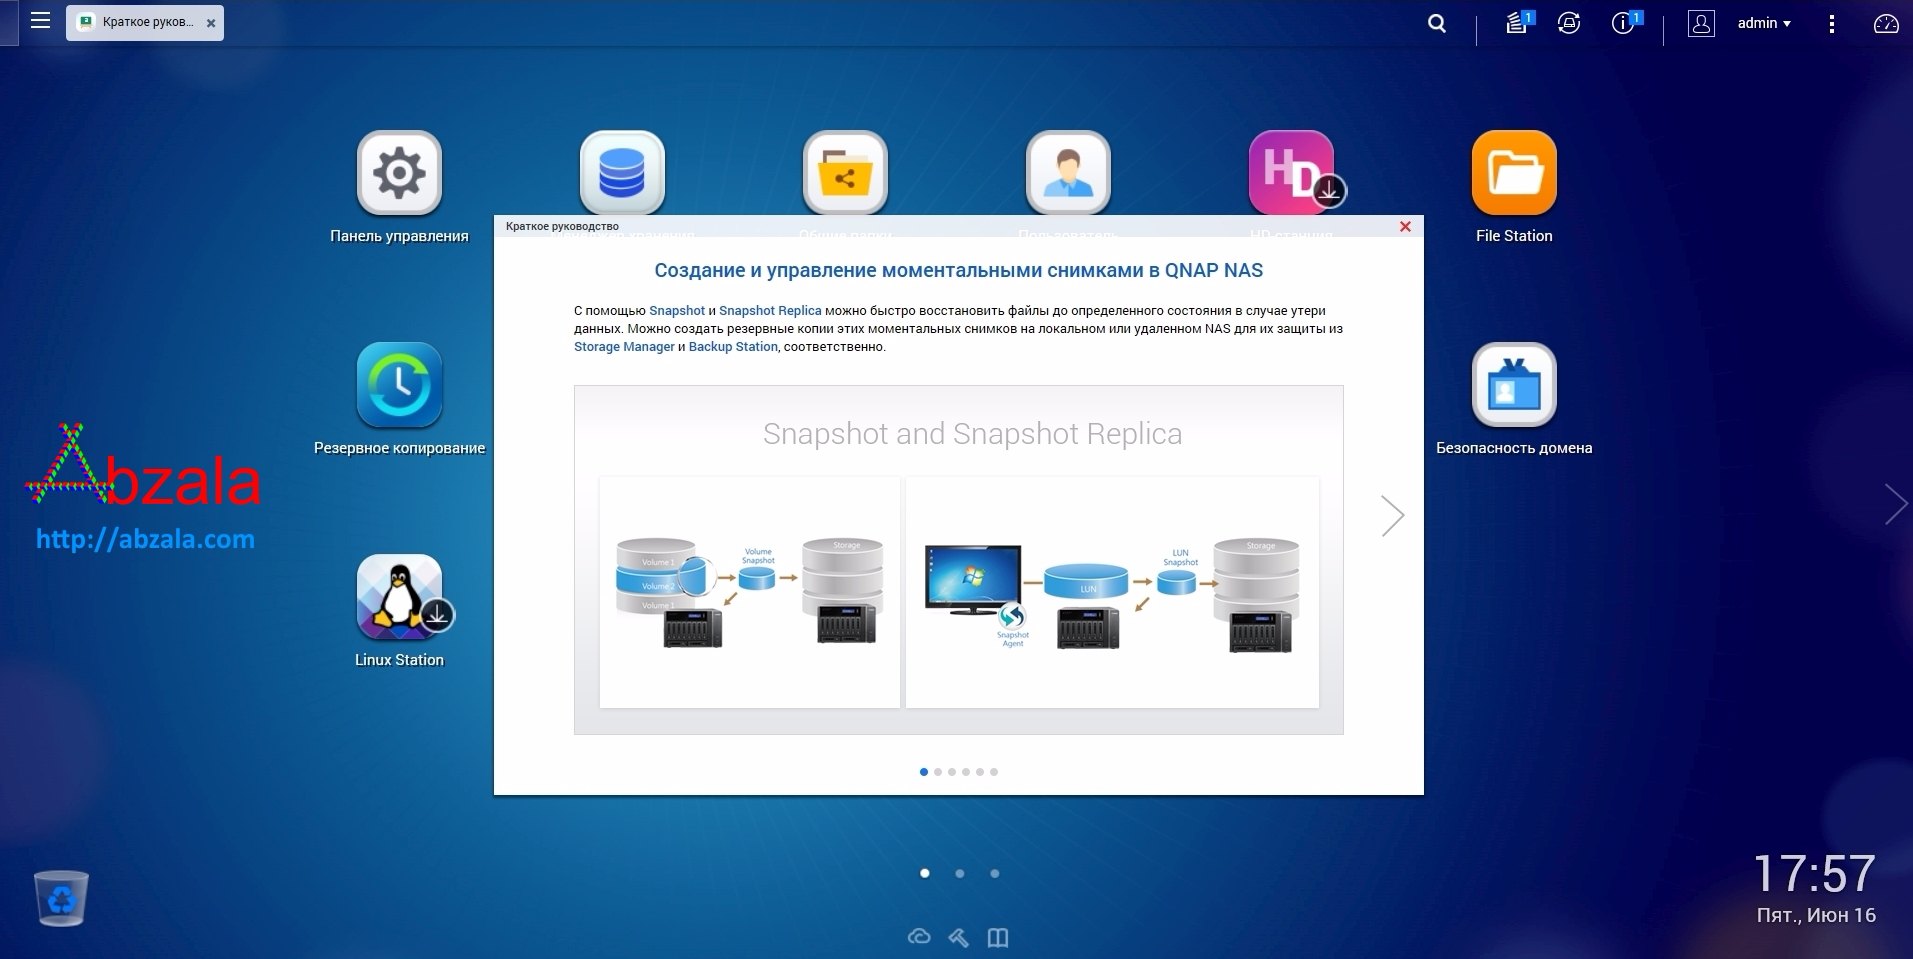
Basically, the quick start guide contains mostly advertising.
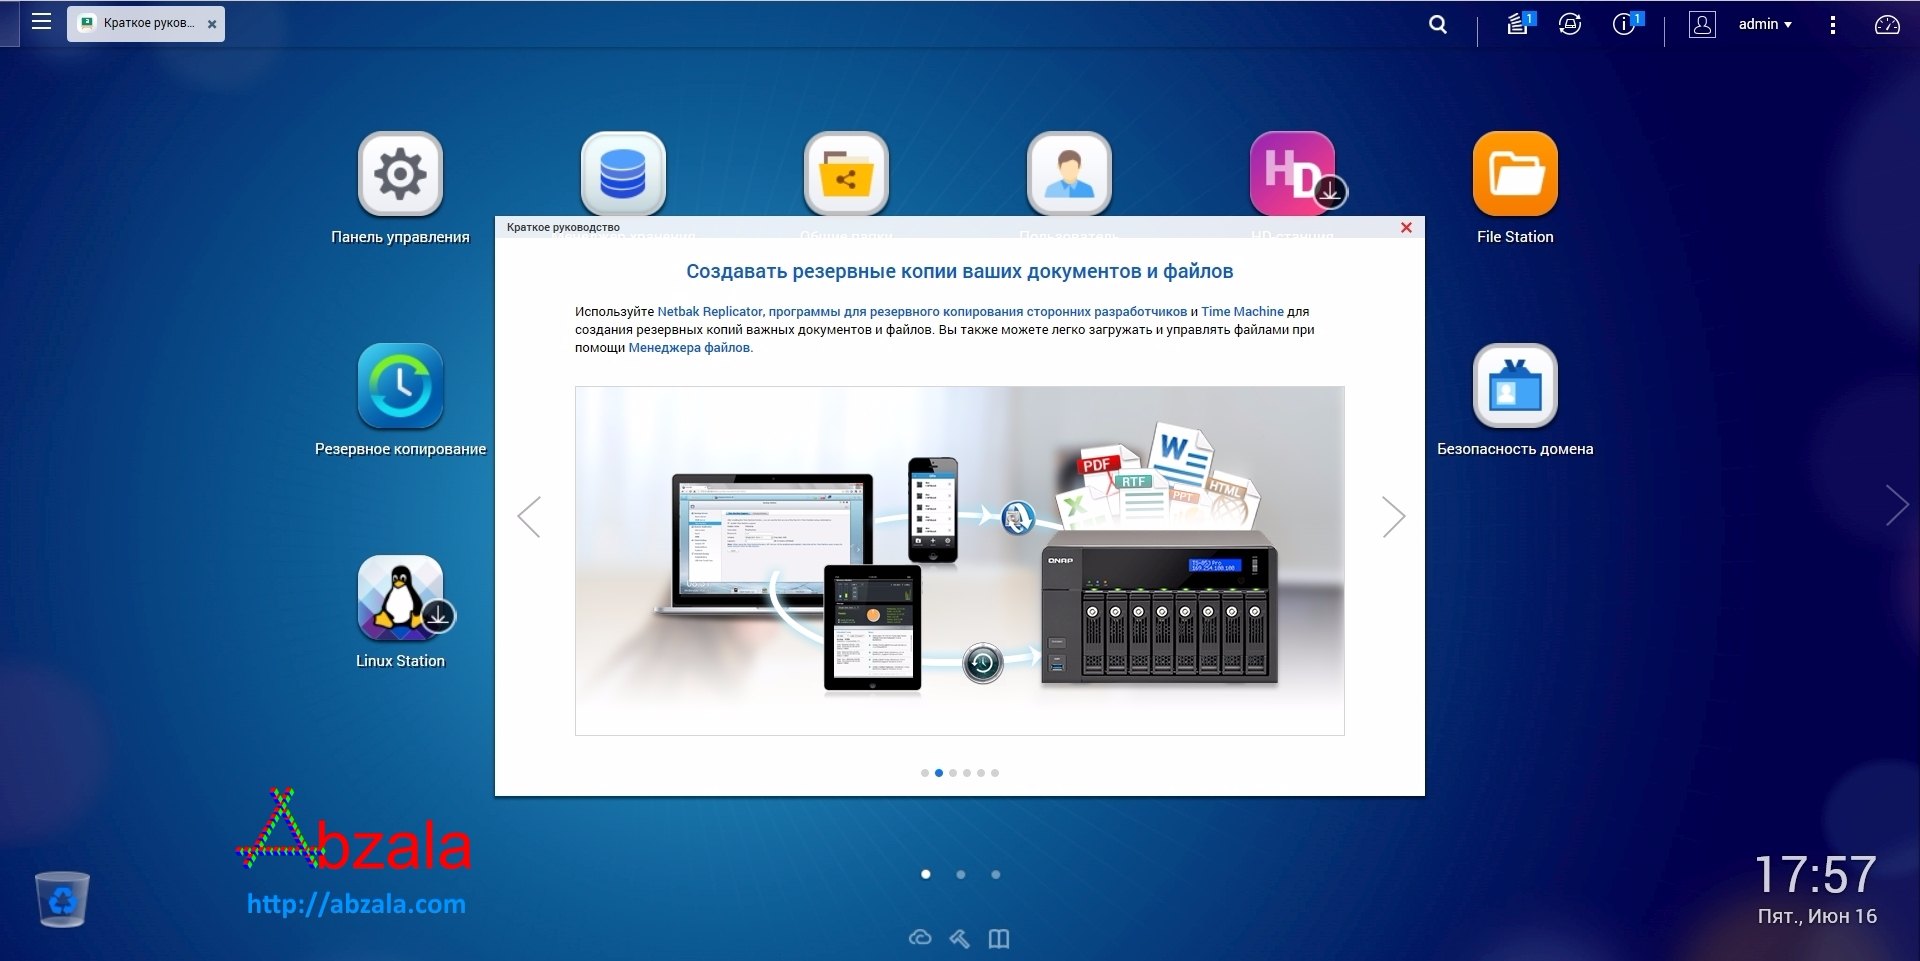
Still, the main purpose of the QNAP NAS TS-453A is network backup.
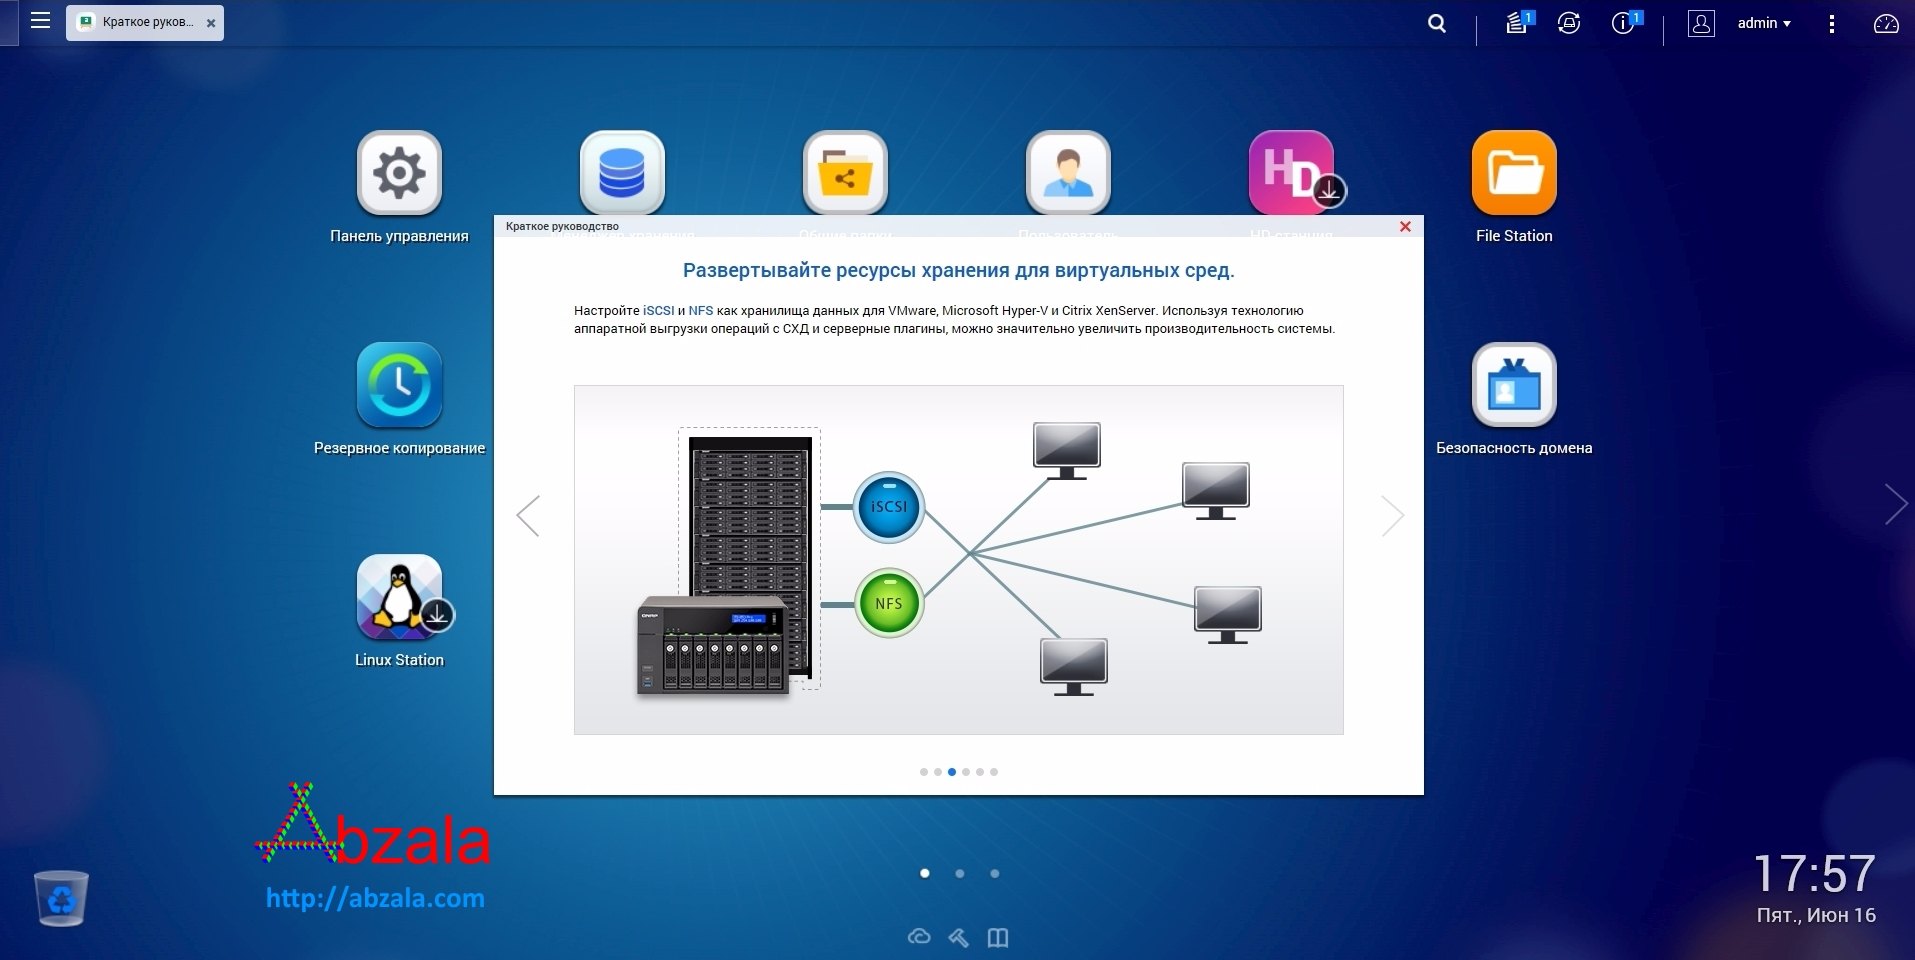
QNAP NAS TS-453A can be used as storage for virtual machines.

It is difficult to overestimate the value of QNAP NAS TS-453A for file synchronization, especially considering the prices of cloud storage of leading IT companies.
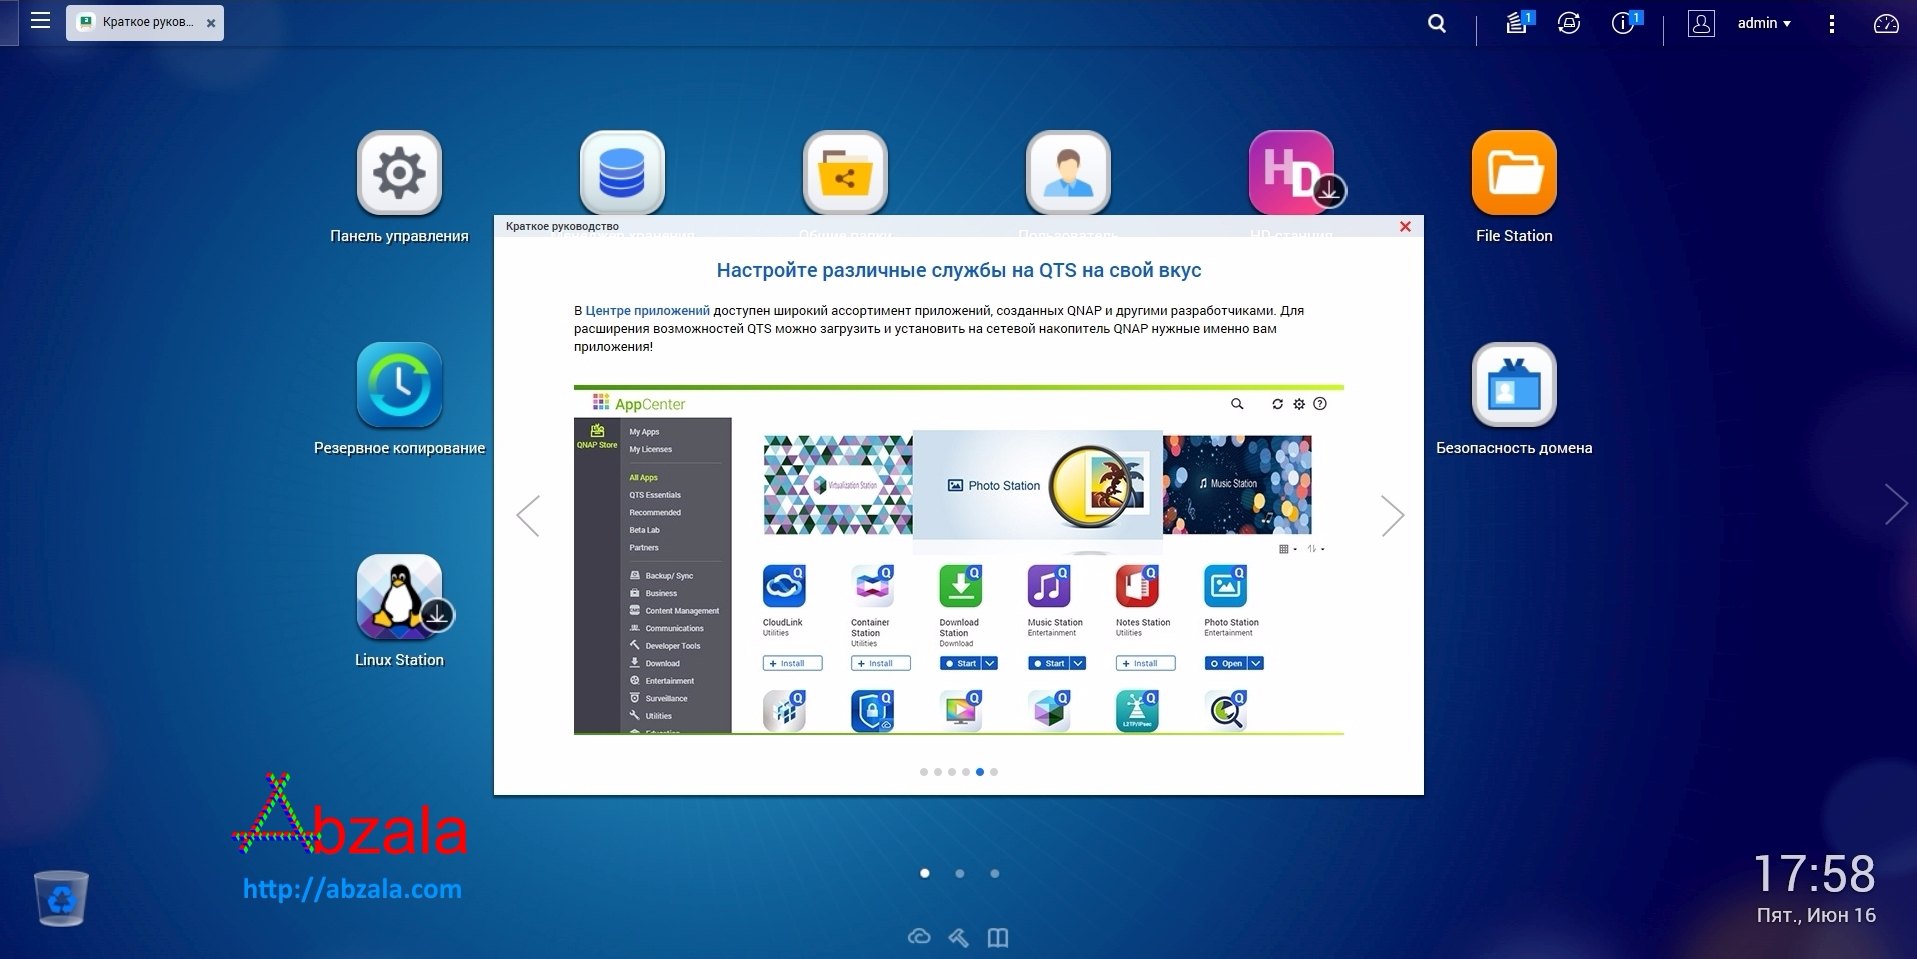
Software, software and again software - this is what the consumer pays for when purchasing QNAP NAS TS-453A, it is there for almost all occasions.
There is software not only for the QNAP NAS TS-453A itself, but also for local computers with different operating systems.
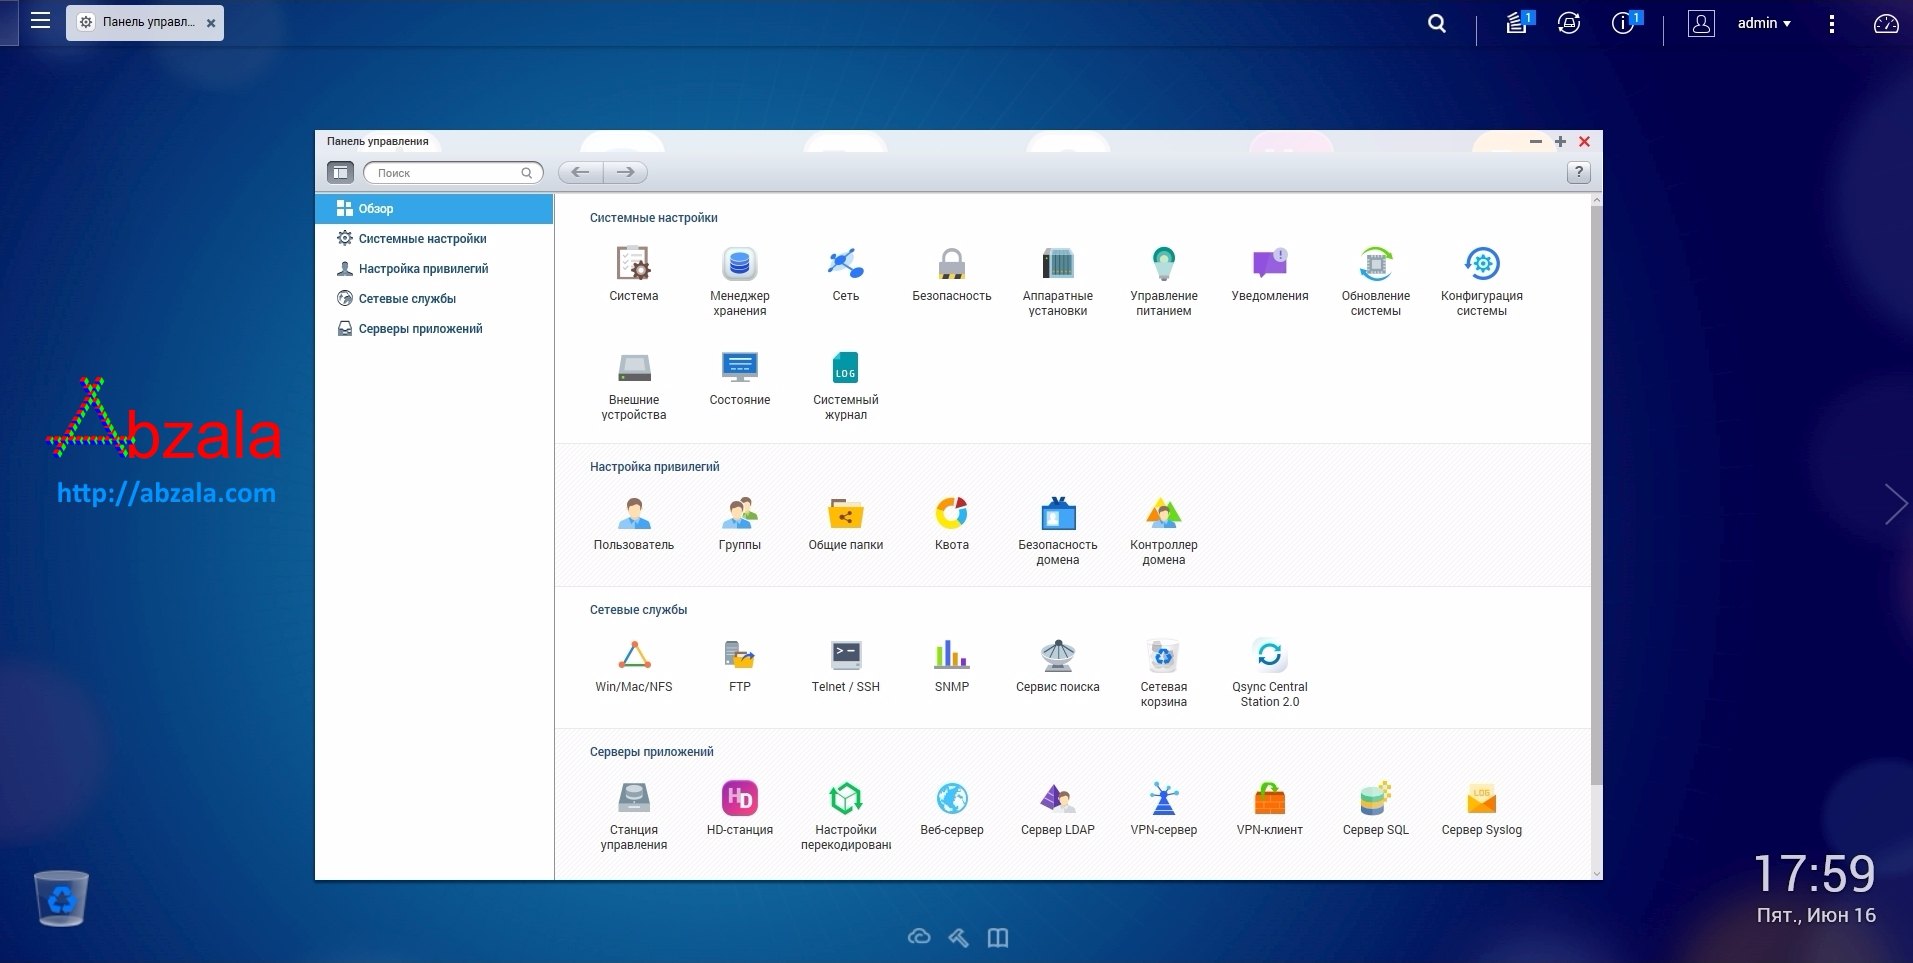
In principle, we have a graphical interface for management a La MAC & amp; Linux, which is very good.
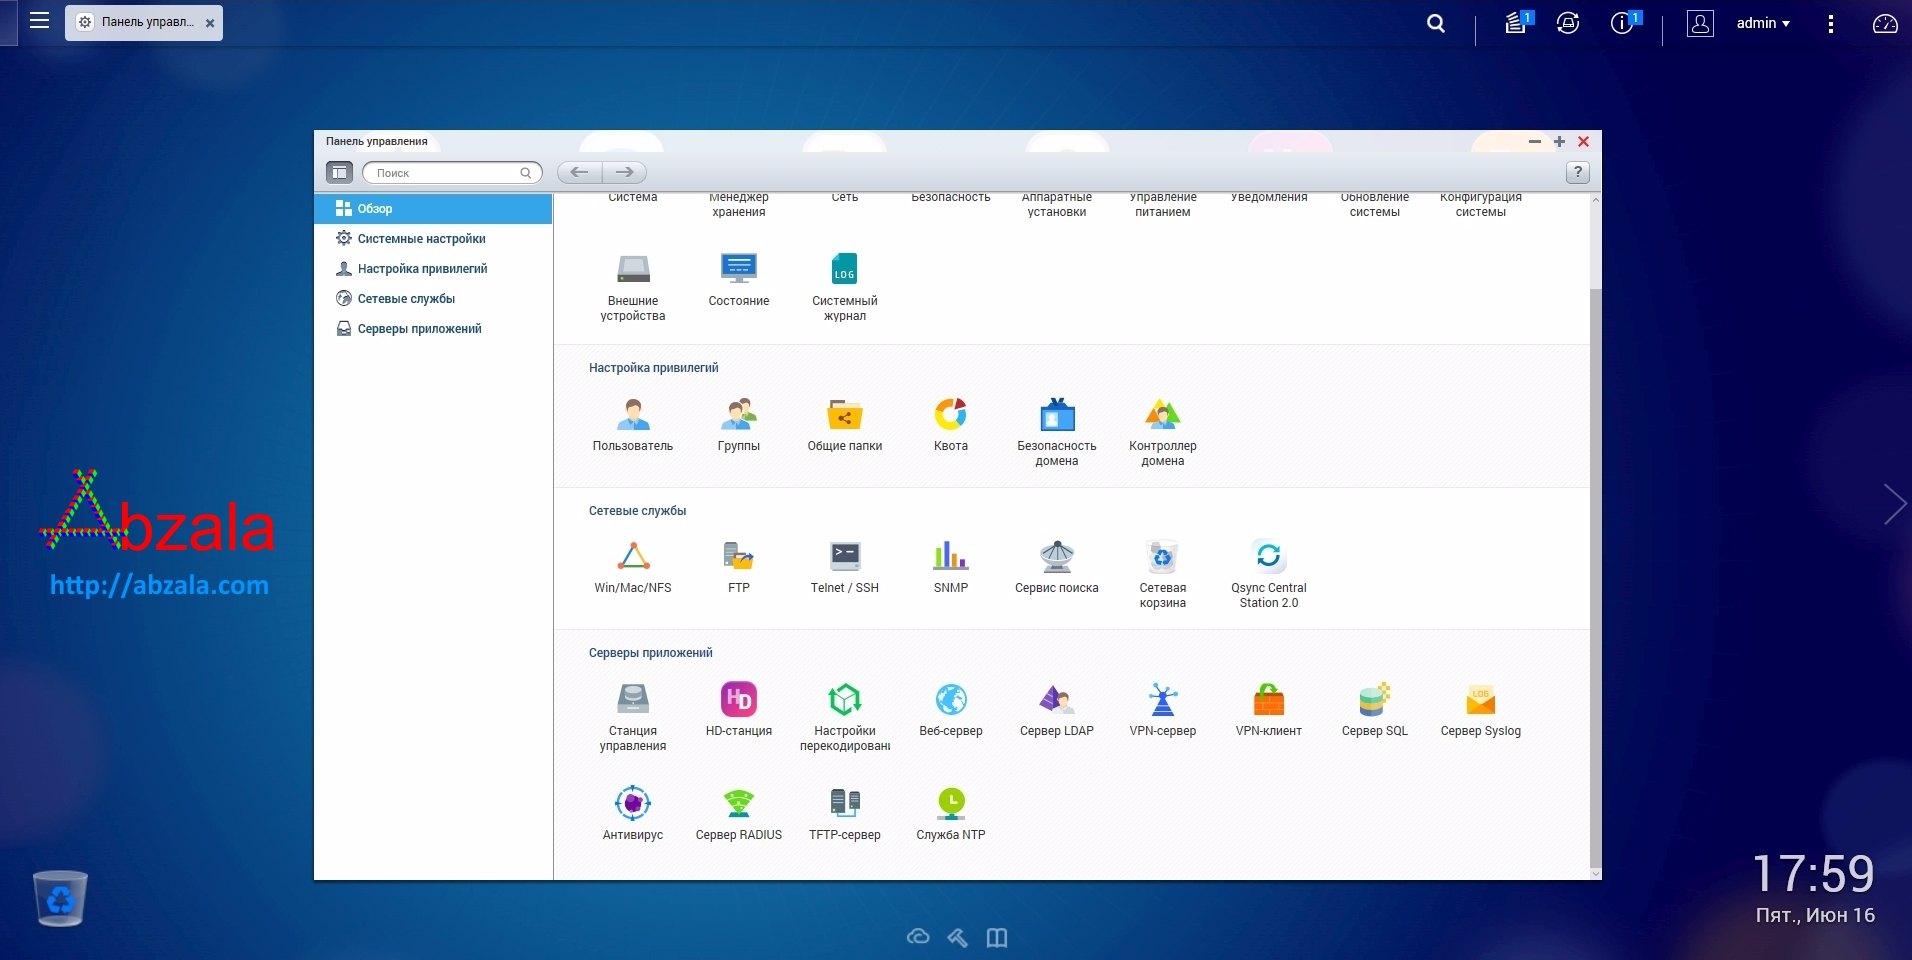
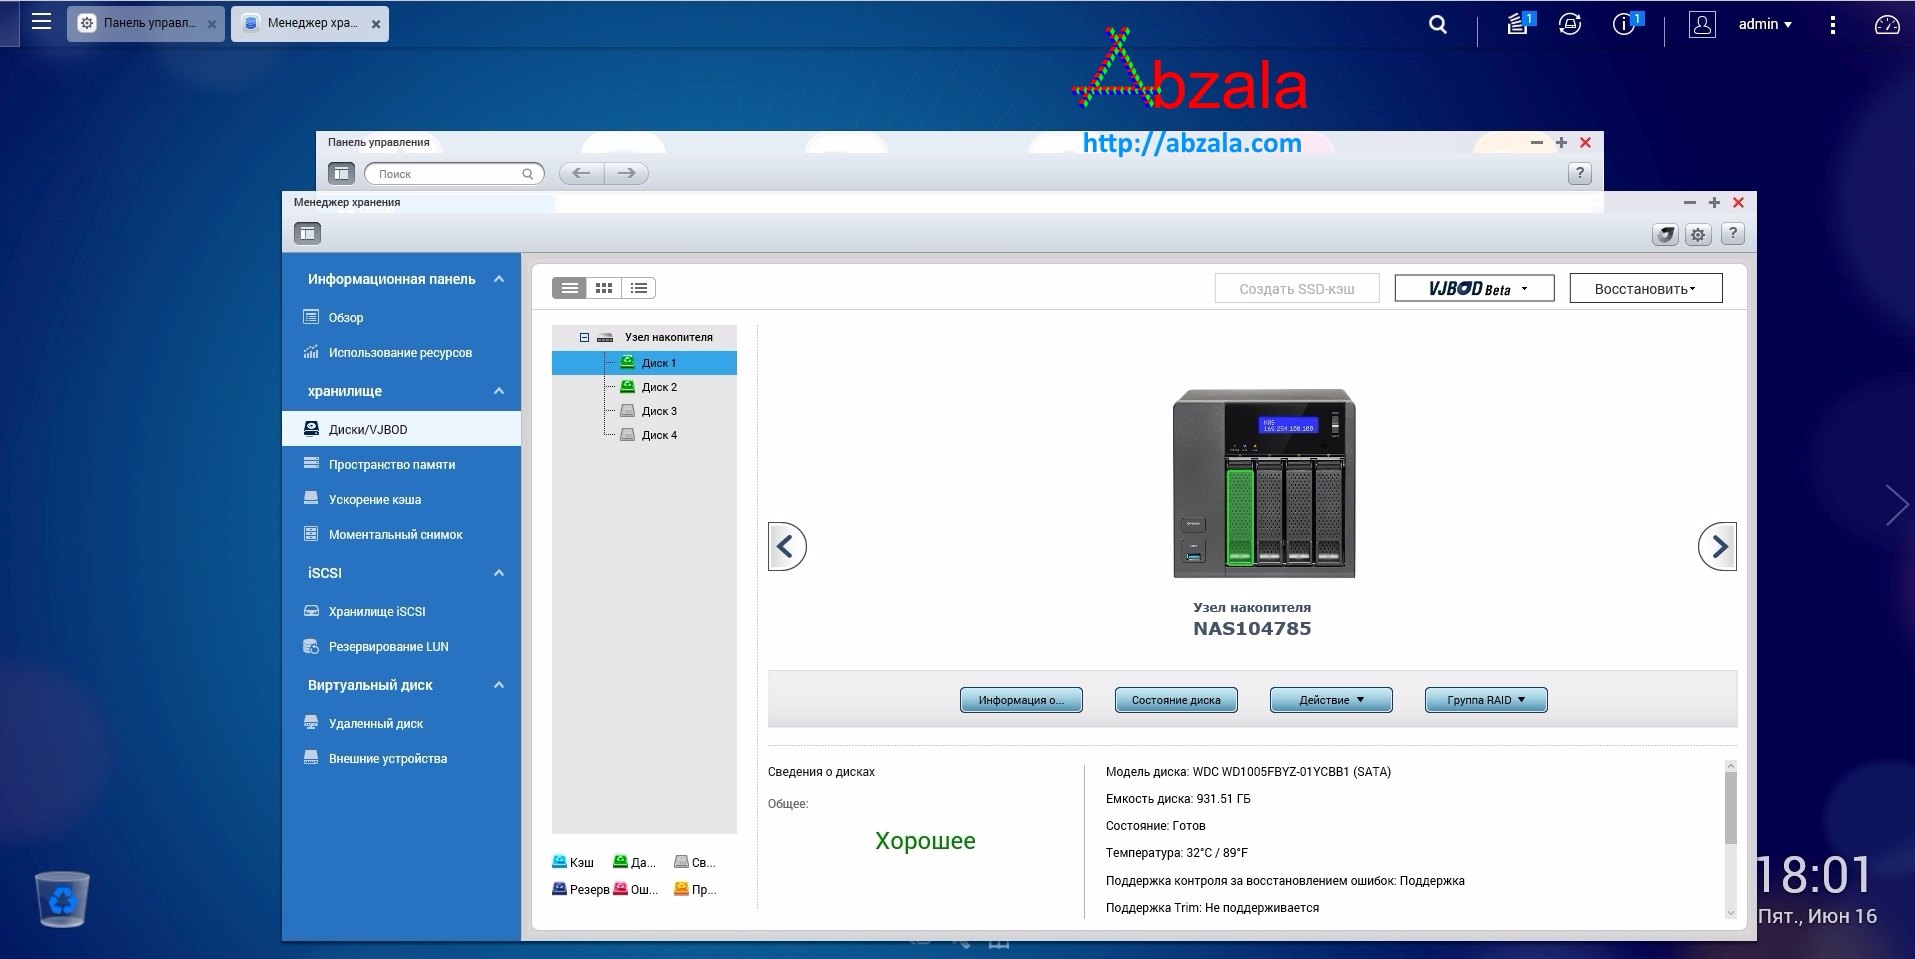
In the control panel, you can easily and quickly select any parameter to view or change. Moreover, newly opened pages have bookmarks in the upper control panel.

The storage Manager displays all data about disks, arrays, and other information in a convenient graphical format.
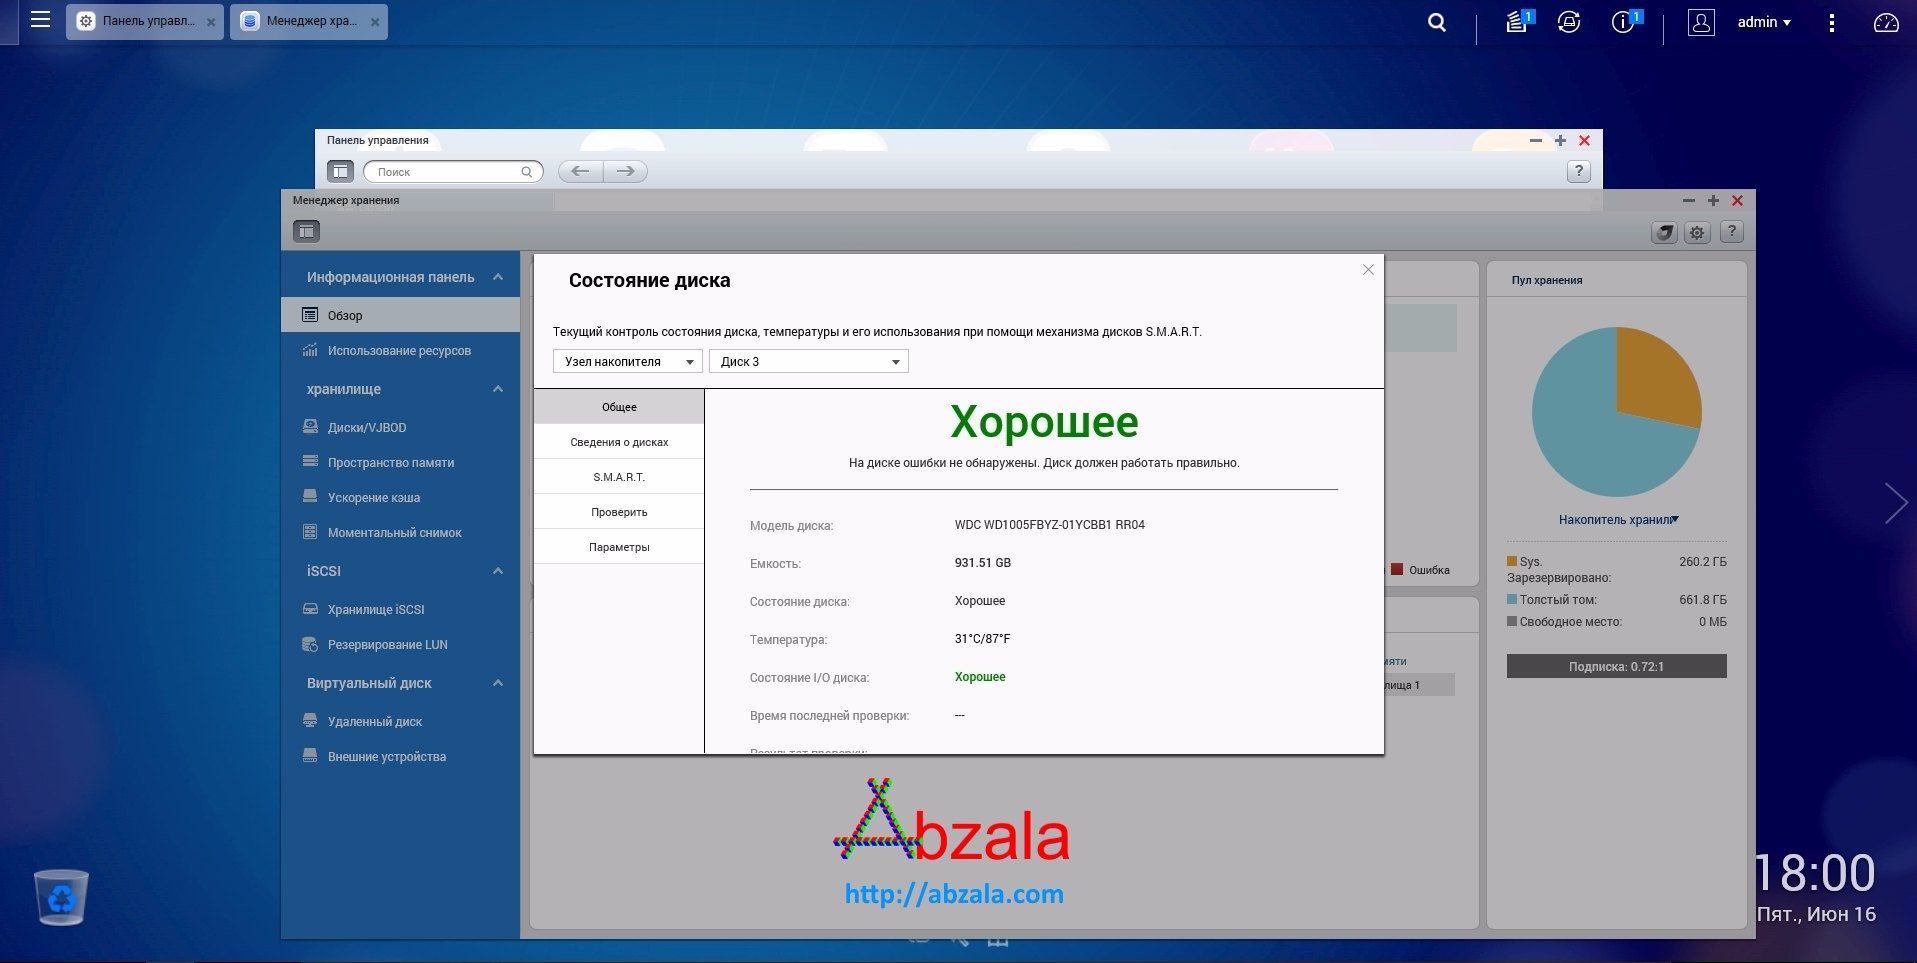
When viewing the disk status, detailed information is displayed, starting from the disk number and ending with the temperature.
The graphical interface of the management environment is at the highest level. Highlighted even when you select the disks in the baskets.